
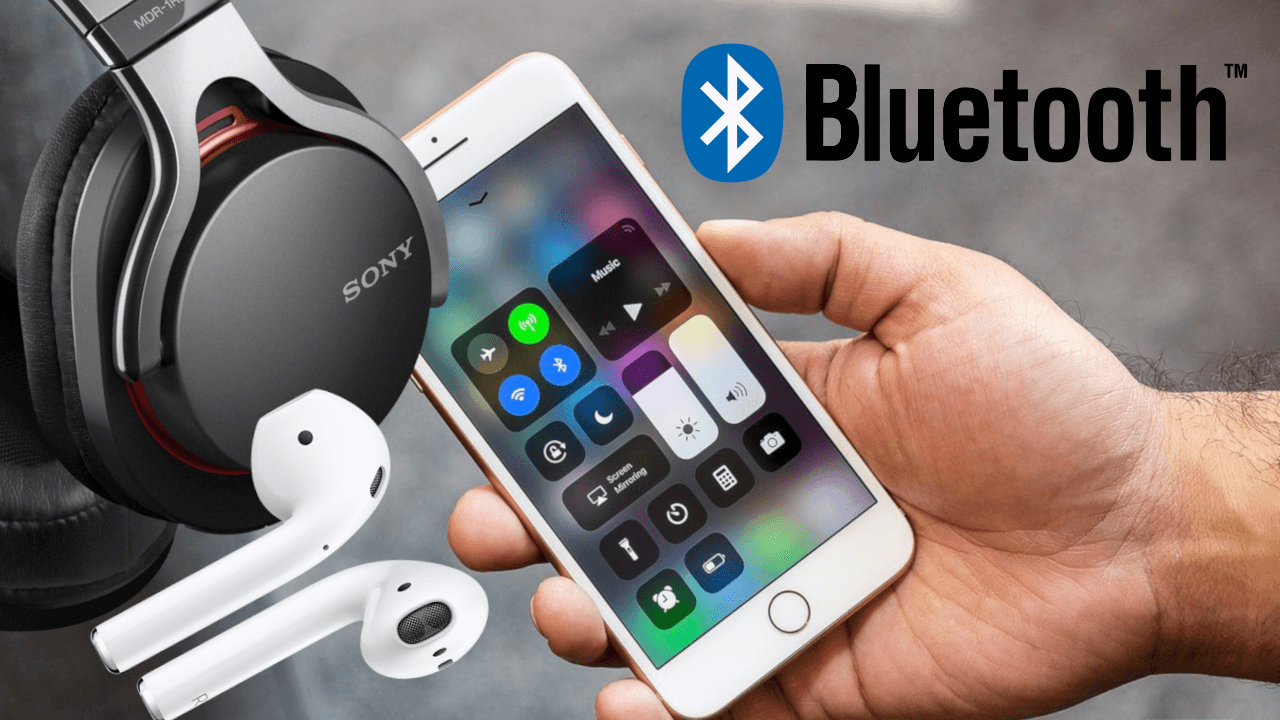
How to switch between Bluetooth devices on iPhone
IOS devices, either iPhone or iPad, have the ability to connect to other devices through Bluetooth connectivity. When we pair our iPhone with a Bluetooth device, this pairing will be saved. This means that the next time both the iPhone and the device that was once connected via Bluetooth are within connection range, they will automatically connect.
Related: How to connect Bluetooth headphones to your Windows 10 PC
This causes that when our iPhone is near 2 Bluetooth devices to which we have already been connected. In this case, our iPhone may connect to the one we do not want. For this type of situation, as a general rule, we would access the Bluetooth Settings, we would disconnect from the currently connected device to connect the second.
However, many users want to speed up this operation to be able to switch between Bluetooth devices to which they can connect their iPhone in a much faster way. Well, iOS offers an option thanks to which we can change the Bluetooth device to connect it much faster with your iPhone.
That said, if there are multiple Bluetooth devices to connect your iPhone to and you want to swap the connection between one and the other quickly and easily:
How to exchange between several Bluetooth devices (connections) on iPhone or iPad in a fast and easy way.
1. When you are in the connection range of several Bluetooth devices, access the control center of your iPhone or iPad.
Note: On an iPhone 8 or earlier device, you must slide the screen from the bottom edge of the screen to the top. On iPhone X or higher devices, you must slide the upper right edge of the screen down.
2. Access to the Control Center may vary depending on the iOS device you are using, so just follow the steps below.
3. When the Control Center is displayed, the Bluetooth switch will be exposed, which you must press and hold.
4. This will bring up a new extended options window. In it you will have to press and hold on the Bluetooth button.

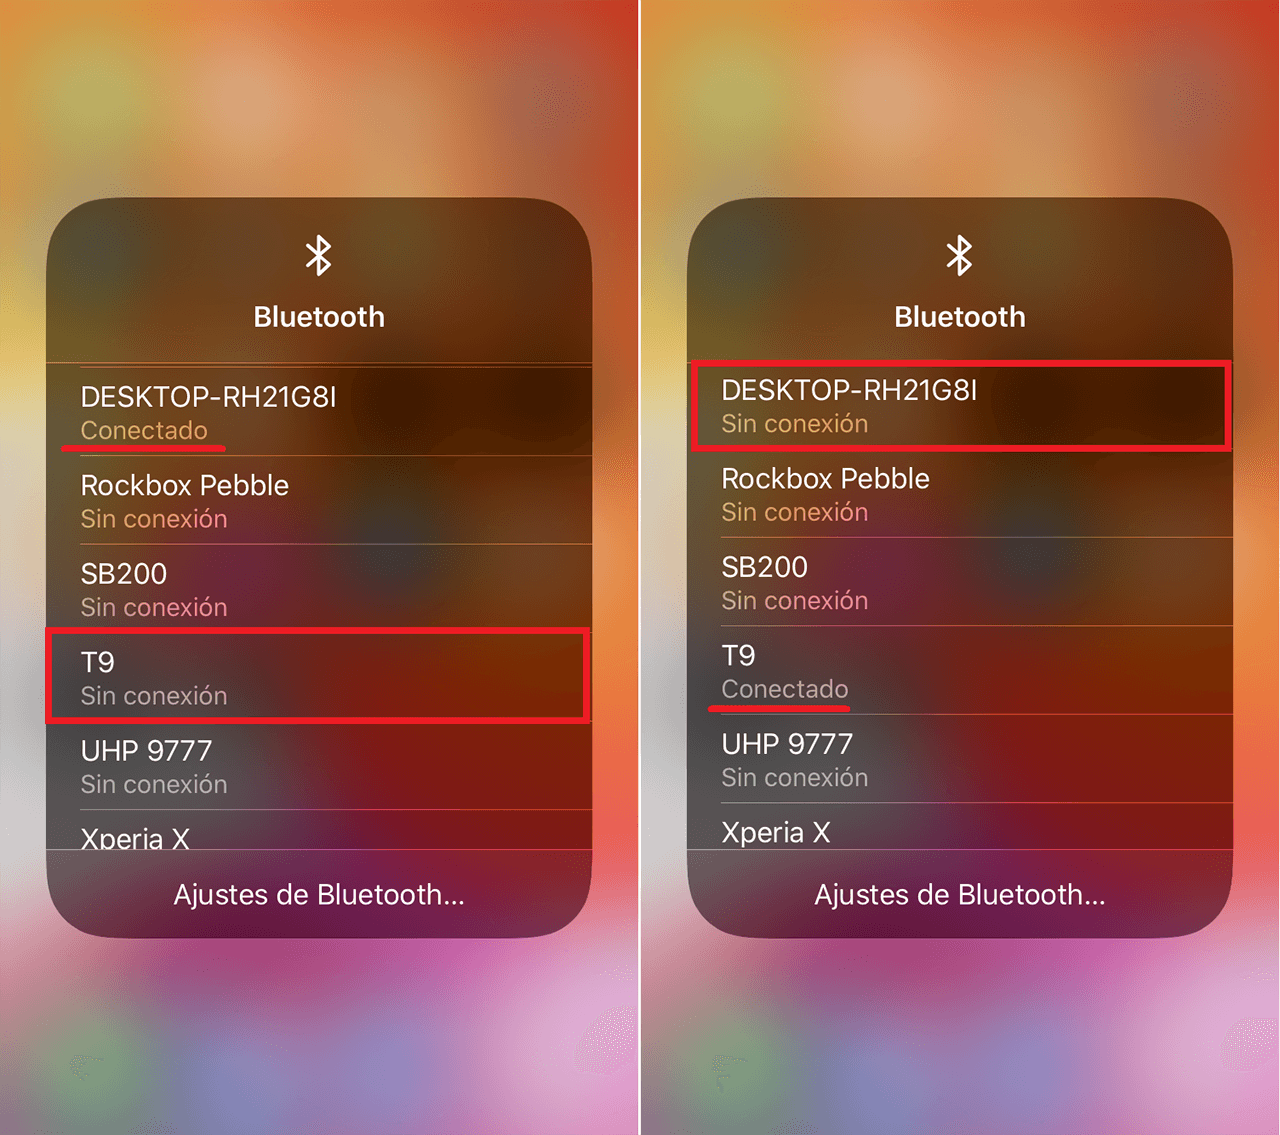
5. A new pop-up window will now appear showing all the Bluetooth devices you have ever connected to. Here you can choose the device you want to connect to.
6. If your iPhone is already connected to a Bluetooth device, you can connect to another just by tapping on a name. As is evident, the Bluetooth device must be active and in range of connectivity.
7. If you have any kind of problem, you can click on the option: Bluetooth settings. This will give you access to the full Bluetooth Settings.
Note: It should be noted that this new function to exchange the Bluetooth connection of various devices with your iPhone or iPad is only available if you use iOS 13 or higher.
.