
How to play the hidden dinosaur video game in Chrome
Google Chrome has so many options and features that most users don’t even know they exist. One of the most unknown features but which at the same time is usually viewed by many users is the Google Chrome browser dinosaur video game.

Related: Disable keyboard playback control in Chrome
When our computer runs out of Internet or disconnects from the network, when we try to access a website from the Chrome browser, a screen will be displayed with the message: No connection. In addition, this screen will also show the drawing or icon of a dinosaur; more specifically of a Tyrannosaurus Rex.
This screen is hated by many users, as it tells them that there is a problem in their internet connection that prevents them from browsing the desired websites. However, what is not so well known is that this screen can become something fun, since it hides a game with which to cope much better, the lack of internet connection.
The video game of the dinosaur hidden in the Google Chrome browser is quite simple but it can be addictive, which has caused many users to wonder if they can play it, even when they have a good internet connection. The truth is that yes, Chrome allows you to play the dinosaur video game from the browser whether you have an internet connection or not.
The game basically consists of avoiding obstacles with our dinosaur through jumps. These obstacles are nothing more than cacti that will not approach with a variable frequency and speed. It should be noted that the video game can be played from the Chrome Web browser for the desktop as well as from the app for Android or iPhone.
That said, below we want to show you how to play the dinosaur video game in the Google Chrome browser with or without an internet connection from PC, Android or iPhone:
Play Google Chrome Dinosaur Video Game Without Internet Connection
– First you will have to open the Google Chrome browser on your computer or mobile phone and try to access a website.
– As you do not have an internet connection, the dinosaur screen should automatically be displayed with the message: No internet connection.
– Once on this screen, you only have to click on the space bar on your keyboard, in the case of using a computer and in the case of using your mobile phone, you will have to click on the dinosaur drawing.

– This will start the video game. To make your dinosaur jump, you will have to press on the space key or on the screen of your mobile phone, with the aim of jumping the obstacles presented.
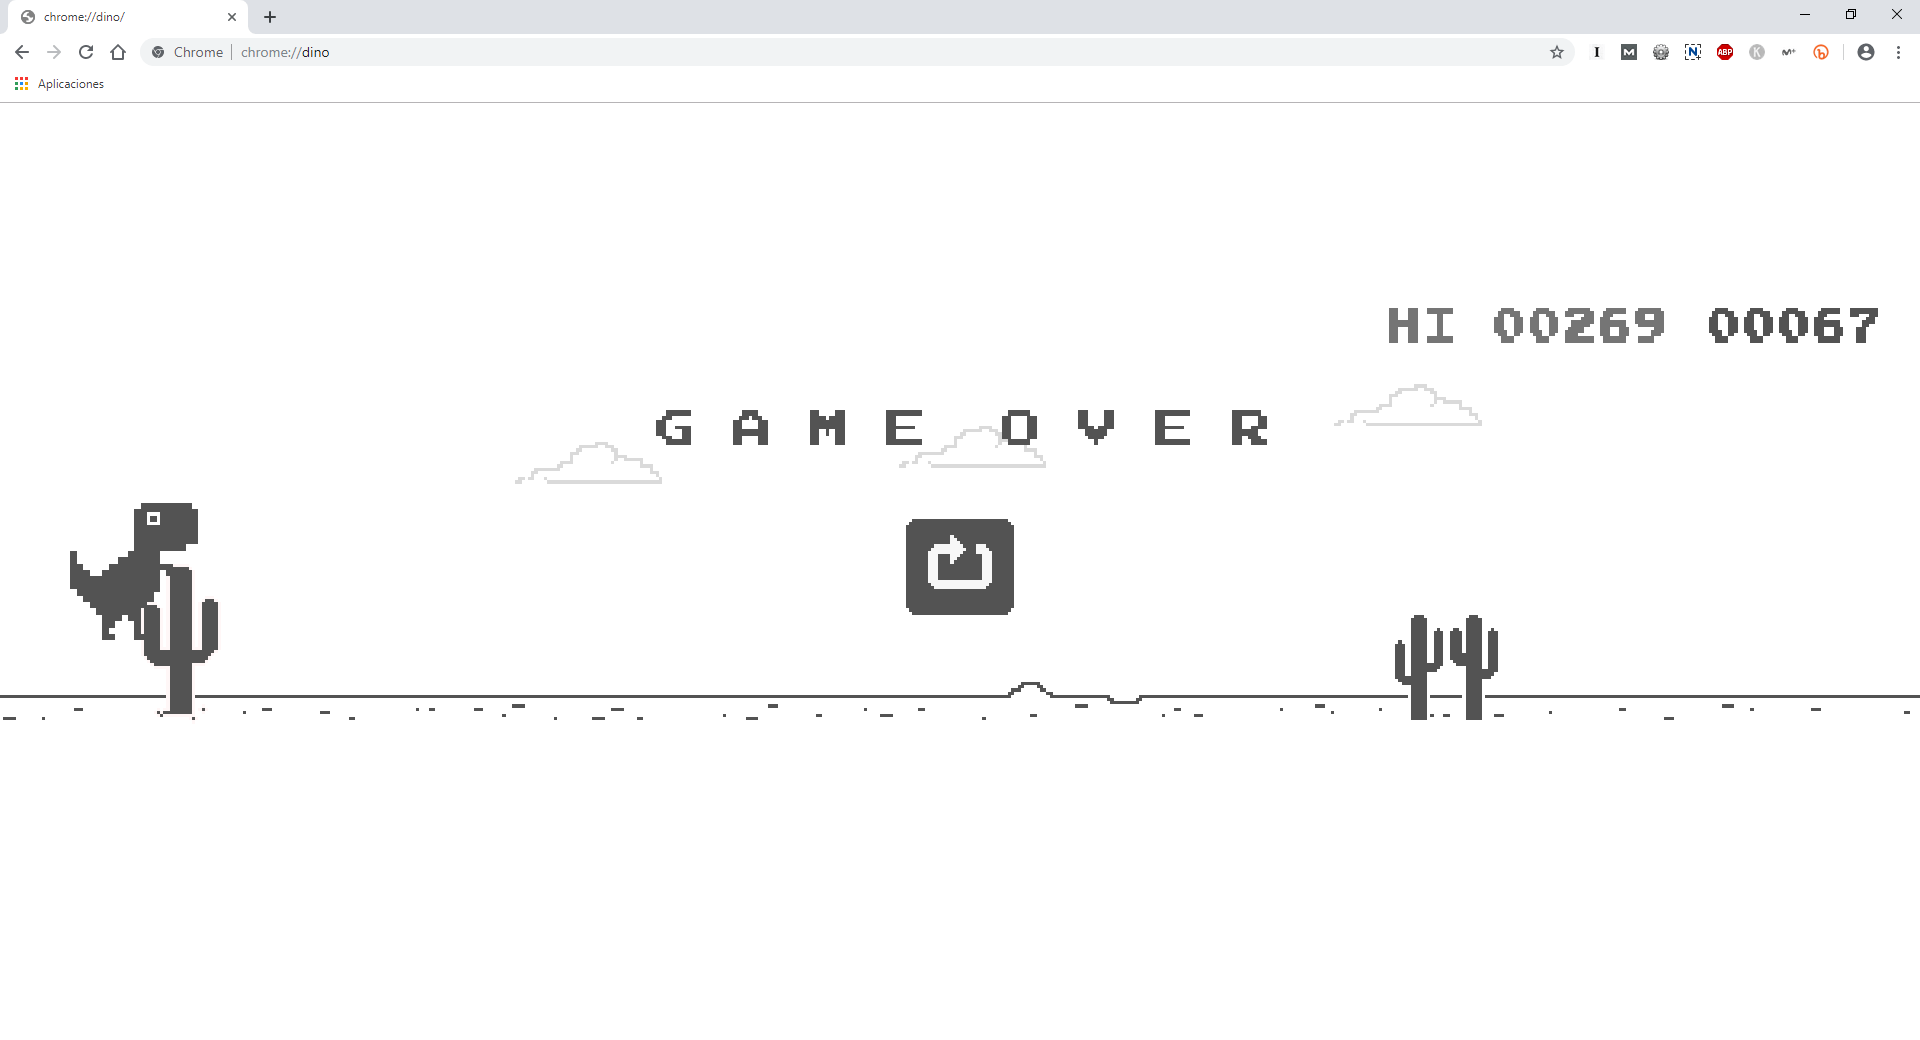
– With each jumped cactus we will earn points and if we collide with any of the cacti, it will be GAME OVER.
Play the Google Chrome dinosaur video game with an internet connection
In the event that your computer or mobile device has internet access, we will have 2 options:
- Disconnect your computer and / or mobile from the Wi-Fi, Ethernet or mobile data network.
- Use the direct url of the video game: chrome: // dino
If you use the first option, the access to the video game will be exactly the same as how it was shown in method 1.
On the other hand, if we use the second option, we will have to open the Google Chrome browser and access the following URL:
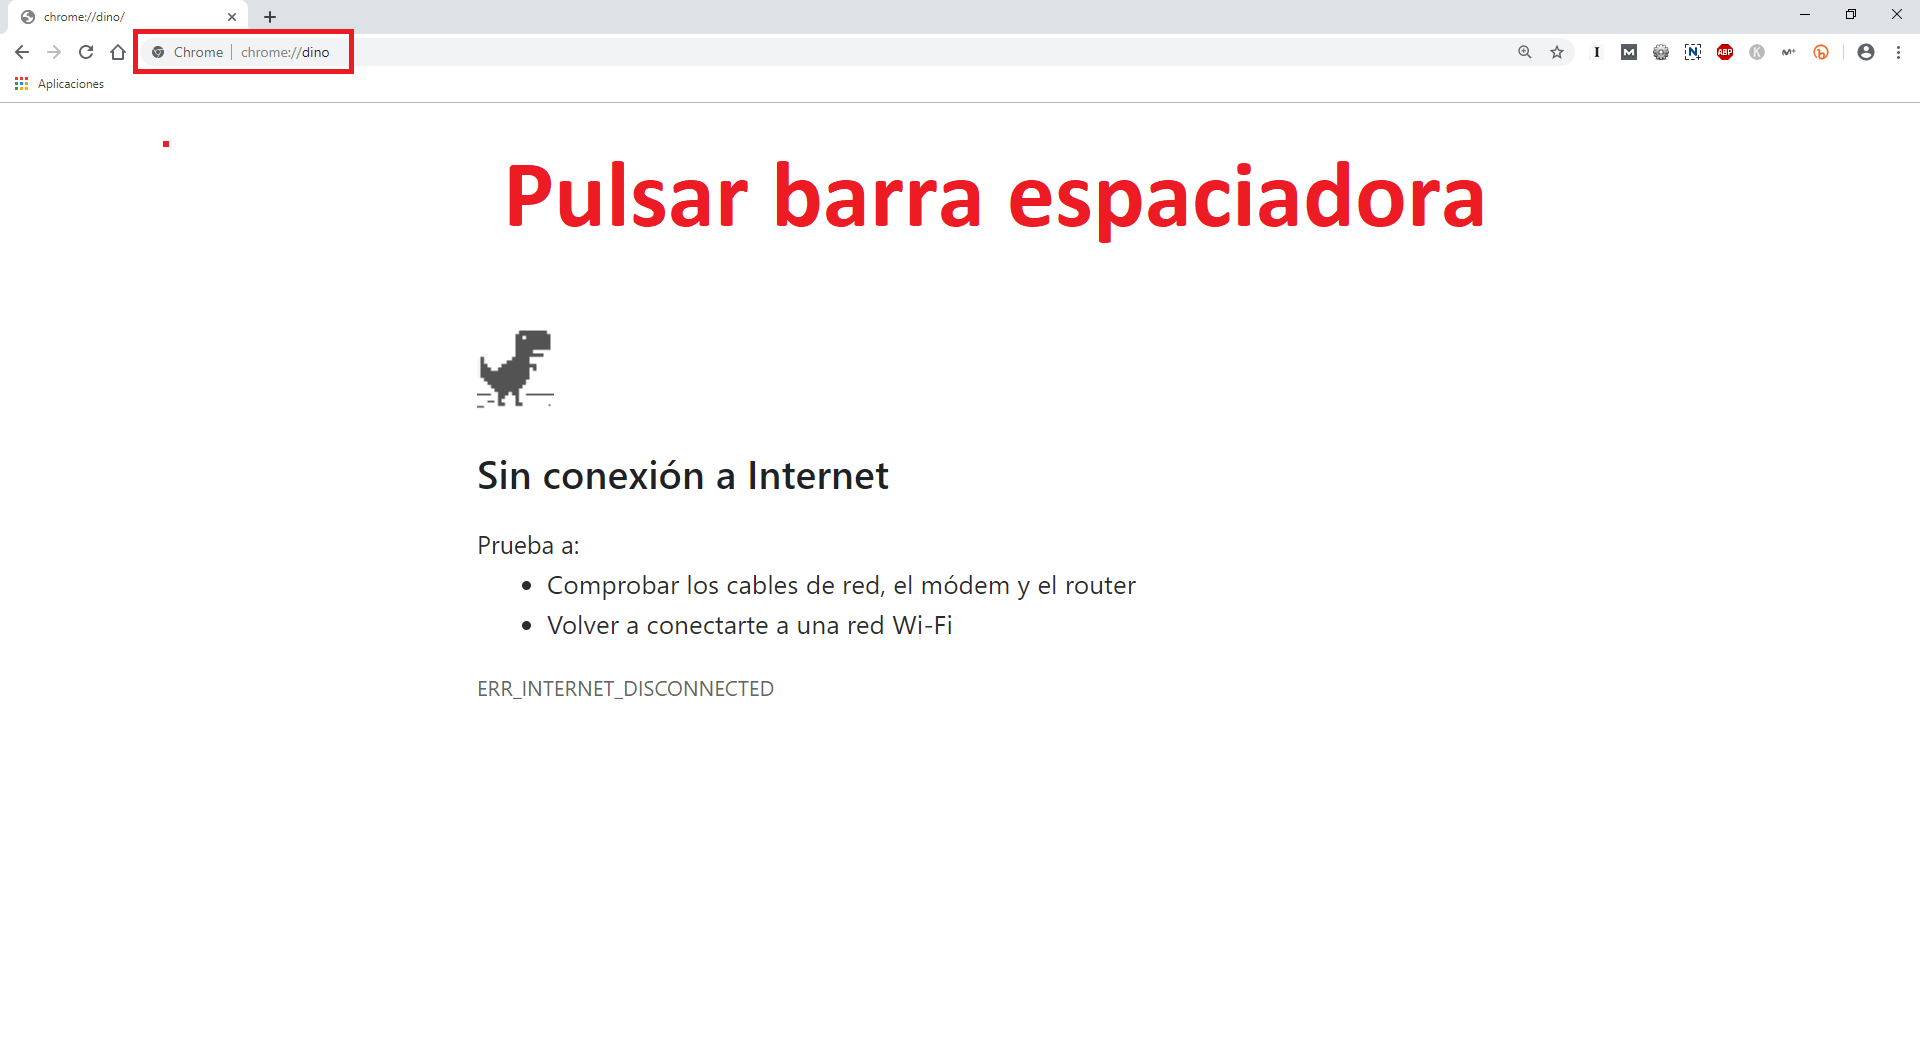
Once we go to the indicated URL, you will be sent to the screen: No Internet connection.
From now on, the use of the dinosaur game in Chrome will be exactly the same as the one mentioned above both in the computer version and in the official app for Android or iPhone.
.